Posted in recipes

shelled green bean soup

When our green bean plants were mass-producing this fall, I missed harvesting a significant number of them at their peak (before I learned how much I loved roasted green beans, and before I knew how much the boys would enjoy eating the frozen green beans). They slowly aged on the vines, getting fatter, tougher, and yellower; some began to dry out, their formerly green shells first turning brown, then becoming thin and brittle.

I harvested a big bowl of the completely dried pods, and ended up with about two cups worth of dry seed to use for my next planting. But I really didn’t need any more seeds to plant (I already had far more than I could use, to be honest), and I didn’t want to wait for the remaining green beans to dry out on the vines. So, I harvested all the yellow-brown pods that were in various stages in between moist green and dry brown, and shelled them. The seeds were large and firm, not yet polished and pebbly like their more mature counterparts, and they looked like any other white bean – so I decided I would use them accordingly.

Bowl half full with white shelled green beans – these may be the hard dry ones instead of the more tender shelly beans but they look about the same. And you could make this soup with the dry ones – you’d just have to simmer them longer.

I simmered the beans until they were creamy and tender, then added diced butternut squash sautéed with fresh rosemary in bacon grease, threw in a couple handfuls of chopped arugula at the end, and adjusted the flavor with red wine vinegar, salt, pepper, and cayenne. The sweetness of the squash, the earthy bitterness of the greens, the creamy nuttiness of the beans – they all melded together to make a soup both satisfying and filling. And just as good as the taste was the knowledge that all those things – the beans, the squash, the arugula, and the rosemary – were grown in my own garden, that I was using the bounty of the land and not letting even the random old green beans go to waste.

(No pictures of the soup, unfortunately, because I ate it all :P)

Posted in family life, recipes

St. Nicholas Day (and a recipe for cookies!)

Due to St. Nicholas Day creeping up on me unawares in the middle of the week, I did not remind my boys to set out their shoes; due to the boys being only 3 and 4, they fortunately did not remember that small mysterious gifts should have appeared overnight. I had aspirations of making small St. Nicholas dolls (inspired by Waldorf pocket dolls) and placing candy canes in their hands like staffs… maybe they could tow along some chocolate coins as well…

However, I did introduce them to the story of St. Nicholas (no books, just me – again, I was woefully unprepared), and we baked speculaas cookies to celebrate!

I found a recipe on the King Arthur Flour website that didn’t call for too many obscure ingredients, stopped to buy sugar on my way home from work, and began mixing up the dough with the kids. Unfortunately, I couldn’t find my almonds anywhere to make almond meal… so we improvised by cracking 1/2 cup worth of fresh hazelnuts we had lingering around aimlessly, and grinding them up in the food processor with a couple tablespoons of flour to absorb any oils. We also doubled all the spices because more is better, for spices at any rate, in my opinion.

Apparently it is also true in the boys’ opinion, as I couldn’t get them to stop eating the cookie dough, and I can’t get them to stop eating the cookies now!

But really, they had so much fun mixing, tasting, rolling, tasting, cutting, tasting, and so on 🙂 And the cookies turned out quite well! Crunchy, spicy, sweet, and addictive, with nubbly texture from the larger hazelnut crumbs – I’ll be adding this tradition to our annual list, and hopefully adding to it in years to come (in addition to books and gifts, I’d love to celebrate the day by being like St. Nicholas and anonymously blessing a family in need – I’m sure there is a good way to coordinate the timing of that with the holiday, and I know there are many opportunities to do so).

And now for the recipe itself!


St. Nicholas Day Speculaas Cookies

Slightly altered from King Arthur Flour’s Spiced Star Cookies

Ingredients

  • 1/2 cup dark brown sugar
  • 3/4 cup butter
  • 2 teaspoons vanilla extract
  • 1 teaspoon ground cardamom
  • 1 teaspoon ground cloves
  • 1 teaspoon ground nutmeg
  • 3 teaspoons ground cinnamon
  • 1/2 teaspoon salt
  • 1 teaspoon baking powder
  • 1/2 cup hazelnuts (more traditionally, ground almonds or almond flour)
  • 1 1/2 cups all-purpose flour (I use unbleached)
  • 2 tablespoons whole milk

Directions

  1. If using whole nuts, grind them in a food processor with 2-4 tablespoons of the all-purpose flour
  2. Cream together the sugar, butter, vanilla, and spices
  3. Mix in the ground nuts, the remaining flour, and the baking powder; the dough will be very crumbly at this point
  4. Stir in enough milk for the dough to hold together
  5. Wrap in plastic wrap and chill (in the fridge for 2 hours or in the freezer for 30 minutes)
  6. Preheat oven to 325° F
  7. Roll to 1/8 inch thickness, cut into desired shapes, and bake on parchment paper for 15 minutes (King Arthur suggests 15-20, but my cookies were ready between 12-15 minutes)
  8. Enjoy!
Posted in recipes

Mac and Cheese!

One of my consistent pregnancy cravings is Kraft macaroni and cheese – it’s not a particularly appealing food to me most of the time, but I really really want it in that first trimester! It probably helps that it is quick and easy to make if I’m feeling worn out from the hormones and just need something fast to feed the boys for dinner… but I feel somewhat guilty every time I make it, and I wanted to find an alternative that would be healthier for the boys as they’re growing and for me as I’m helping a new baby grow. I’ve had a great baked mac and cheese recipe for a few years now, but it is a labor of love and a misery in the summer (three burners and the oven on all at once in a tiny heat-trapping kitchen – not enjoyable).

Well, somewhat on a whim a couple weeks ago, I wondered if I could adapt that baked mac and cheese recipe to a stovetop recipe and still retain that rich, smooth, cheesy texture and flavor. I was doubtful, remembering many grainy cheese sauces from my mom’s attempt to replace the Kraft mac, but I decided it was worth a try. And to my great surprise and the boys’ great delight, it worked! We’ve made it at least four times since and Rondel’s asked for it for dinner, lunch, and even breakfast many more times than that.

Essentially, I make a simple roux with butter, flour, and milk – about half the milk I needed for the baked mac – add some shredded cheddar, cayenne pepper, black pepper, and maybe a touch of salt, and then mix the drained noodles with the sauce after the cheese has mostly melted. Some keys are:

  • make sure the flour cooks sufficiently before adding the milk
  • avoid over-browning or burning the flour
  • stir thoroughly while adding the milk so no grainy floury pockets are left unmixed
  • keep the heat low so the dairy doesn’t scald or develop a skin
  • use a noodle with lots of texture to hold the sauce
  • don’t skimp on the cayenne! The dairy mitigates the spice, but the pepper still manages to make the cheese taste sharper than it otherwise would, and enhances the cheese flavor that might otherwise be dulled by the milk, flour, and pasta.

I think high heat and insufficient whisking of the milk into the flour-butter mixture were at fault the one time our noodles were a bit on the grainy side.

We’ve been using a tri-color rotini noodle we found that apparently will provide about half a serving of vegetables in a normal child-sized amount of pasta – so the colors make the boys excited, and the added health benefits make me excited!

Anyway, for 8 ounces of pasta, here is the recipe I’ve settled on:

  • 2 tbsp butter
  • 2 tbsp flour
  • 1 cup milk
  • 1/3 lb shredded sharp cheddar cheese (approximately – I just fill a bowl)
  • 1/2 tsp cayenne pepper
  • pepper and salt to taste (I usually omit the salt)

If you know how to make a roux, this will be a piece of cake. If you don’t, the technique is pretty simply to learn. Start by melting the butter at low to medium-low heat, then mix in the flour. Let the flour and butter mixture cook at low heat for at least 5-6 minutes, until the flour starts to brown (if it browns more quickly, turn down the heat!). Slowly, stirring constantly, add the milk to the browned flour-butter mixture, making sure to fully incorporate all the milk as you go. Finally, add the cheese and spices!

The whole sauce is then stirred into the cooked pasta and everyone can enjoy! If I make the sauce while the pasta is cooking (and the water coming to a boil), I find it doesn’t take much more time than the boxed mac and cheese, although the clean up is a bit worse – and the taste and nutrition are far better.

Posted in family life, recipes

breakfast for dinner – real life on a regular day

I’ve honestly been too tired to get out my camera and aim for the beautiful or cute shots of the boys for a while now, and it’s been compounded by the fact that our only real outdoor play options (where the lighting is ideal for pictures of toddlers who rarely hold still) involve water, which is decidedly camera-unfriendly!

IMG_5026

Lately, however, I’ve been inspired by Jennie’s Real Life series of black-and-white shots over at Where My Heart Lies, and I thought, you know, black-and-white pictures are much more forgiving in low-light settings, and if the bar is set low enough so that even the mess is considered valid subject matter, then maybe I can still take pictures even in this season of life. The floor may more often than not be a colorful canvas of crayon art, and the sink may typically be full of dishes, but we’re still playing together, reading together, eating together, and surviving each day together, so it’s worth capturing the truly everyday moments no matter how inglorious and small they might be.

IMG_5024

Yesterday, as has been the case for the majority of days in the past few weeks, my queasiness peaked in the afternoon, making dinner prep the absolute last thing I wanted to do. I didn’t have a plan and nothing sounded remotely edible but I knew that if I postponed dinner any longer I would have two ravenous toddlers at their emotional breaking points over a lack of food, so I went to a standby that I actually hadn’t made in a while: whole-grain pancakes!

This recipe is from the book Hearth and Home, which my mom owns; I recall the book as being a collection of recipes, thoughts, and short anecdotes, and I don’t really use anything from it aside from this recipe – but it is definitely a good pancake recipe! The unique element of it is that you start with whole unground grains: wheat berries, rolled oats, cornmeal (I don’t trust my blender with whole popcorn kernels!), or whatever else you have around. My current favorite is 1 1/4 cups of wheat berries and 1/2 cups of rolled oats; different combinations don’t affect the taste so much as the texture of the finished pancake. The blender does the work of grinding up the wheat berries and other grains or flours, so that you are working with and eating the freshest possible whole grains. Despite having no added sugar, some warming spices make the pancakes feel sweet, and they are thick, hearty, and filling. You might have noticed in the picture above that I added some fresh blueberries to one of the pancakes, too!

Blueberry pancakes with butter and a drizzle of maple syrup – mmm 🙂

IMG_5028
the first batch, catching the sunlight through the kitchen window – aren’t they lovely?

And now for the recipe, short and simple. Make sure you have a heavy-duty blender; otherwise, just use 2 cups of the flours of your choosing instead of the whole grains.

Blend 1 1/4 cups whole wheat kernels and 1/2 cup rolled oats with 2 cups milk, for 4 minutes on high, until smooth.

In a separate bowl, beat an egg with 1/4 cup of oil (I like coconut best but I used vegetable tonight because I’m all out of coconut oil, sniff). Pour the blended mixture into the bowl and whisk together. The blender just doesn’t seem effective at this when the egg and oil are added on top of the flour mixture, for some reason.

Whisk in 1 tablespoon baking powder, 1/2 teaspoon salt, and 1 heaping teaspoon of some warming spice mix (pumpkin pie spice blend, or just straight cinnamon, or something along those lines. I have a blend called “sweet spice” from a local baking store and I have no clue what is in it in what proportions but it’s good!)

Then just pour onto a griddle to bake! You may need to adjust the thickness of the batter to get it just right for you, but with this specific grain mixture I haven’t needed to.

After you pour a pancake out, before it cooks very much on that first side, you can add customized add-ins like walnuts, bananas, blueberries, or even chocolate chips. I’m a huge fan of these specialty pancakes but everyone else in my family prefers them plain, so I can’t mix the add-ins directly to the batter; this is a good hack to work around it.

So there you have it, breakfast for dinner and I’m completely unashamed 🙂 When you’re pregnant, exhausted, and queasy, just getting relatively healthy food on the table is an unqualified success, I think! Realistic expectations for myself, that’s what I need 🙂

Posted in family life, musings, recipes

meal-planning for the creative and spontaneous mom

I think cooking and grocery shopping are two of my favorite housekeeping activities 🙂 It’s fun imagining different ways to use the fruits and vegetables that are seasonal and on sale, or figuring out how to use up the remnants of a leftover or the last bits of produce in the fridge before they go bad without making an emergency trip to the store, or balancing all the different food groups throughout the day to make sure the boys are eating a well-rounded diet. In a way, it’s like a puzzle that never gets old because so many of the variables are always changing! (And I must confess that I would get bored pretty quickly if the variables didn’t change – I could never work off a strict rotation of menus because I get tired of cooking the same things and like to mix it up and experiment with new ideas fairly regularly).

Most of my inspiration comes from the produce sale list… I see, for instance, that red bell peppers are only 50 cents each this week and I wonder what I could make with them that my bell-pepper-disdaining family would eat (I love peppers so I’m always attempting to convert the rest of them). Maybe on top of a bruschetta with some sort of cheese – something with feta and ricotta, perhaps… I call those “little toasties” to the kids because they sometimes will outright refuse a food just because it has a strange name and I’d rather not have to deal with that if I can avoid it! And there’s one meal down: I would throw together a quick pasta or veggie to accompany it, depending on what leftovers we have and what’s in the pantry, and let the bruschetta be the main star of the meal.

I think one of the factors that makes this sort of meal-planning easier for me is that I don’t think every dinner has to include a meat. I was a vegetarian for eleven years, so as long as there is some sort of cheese or bean in the main meal I feel like it is complete, and especially if we had a high-protein breakfast or lunch I don’t think it necessary to emphasize the protein at dinner. Instead, dinner ends up being the most vegetable-heavy meal of the day most of the time. We’ll see if this needs to change as the boys get older, of course 🙂 Meats are just harder for me to be creative with because I lost those eleven years of experimentation, so I get more easily bored by the options I can reliably cook.

Right now we’re entering into one of my favorite meal-planning seasons because there is so much seasonal fresh fruit! Fruit is an easy side dish to round out a meal, a healthy dessert if I’m feeling nibbly after dinner, a no-guilt snack to pull out if the boys are hungry an hour before dinner, and a quick breakfast if I’m running late to work. It significantly reduces the amount of prep and forethought I have to put into meals… and the hot weather in general lends itself to quick, light foods instead of the heavier meals that require thawing time, prep time, and cooking time (as delicious as those meals are in the colder weather!).

What are some of your tips and tricks for feeding your family every day?

Posted in family life, recipes

hot cross buns: the Good Friday story and a recipe

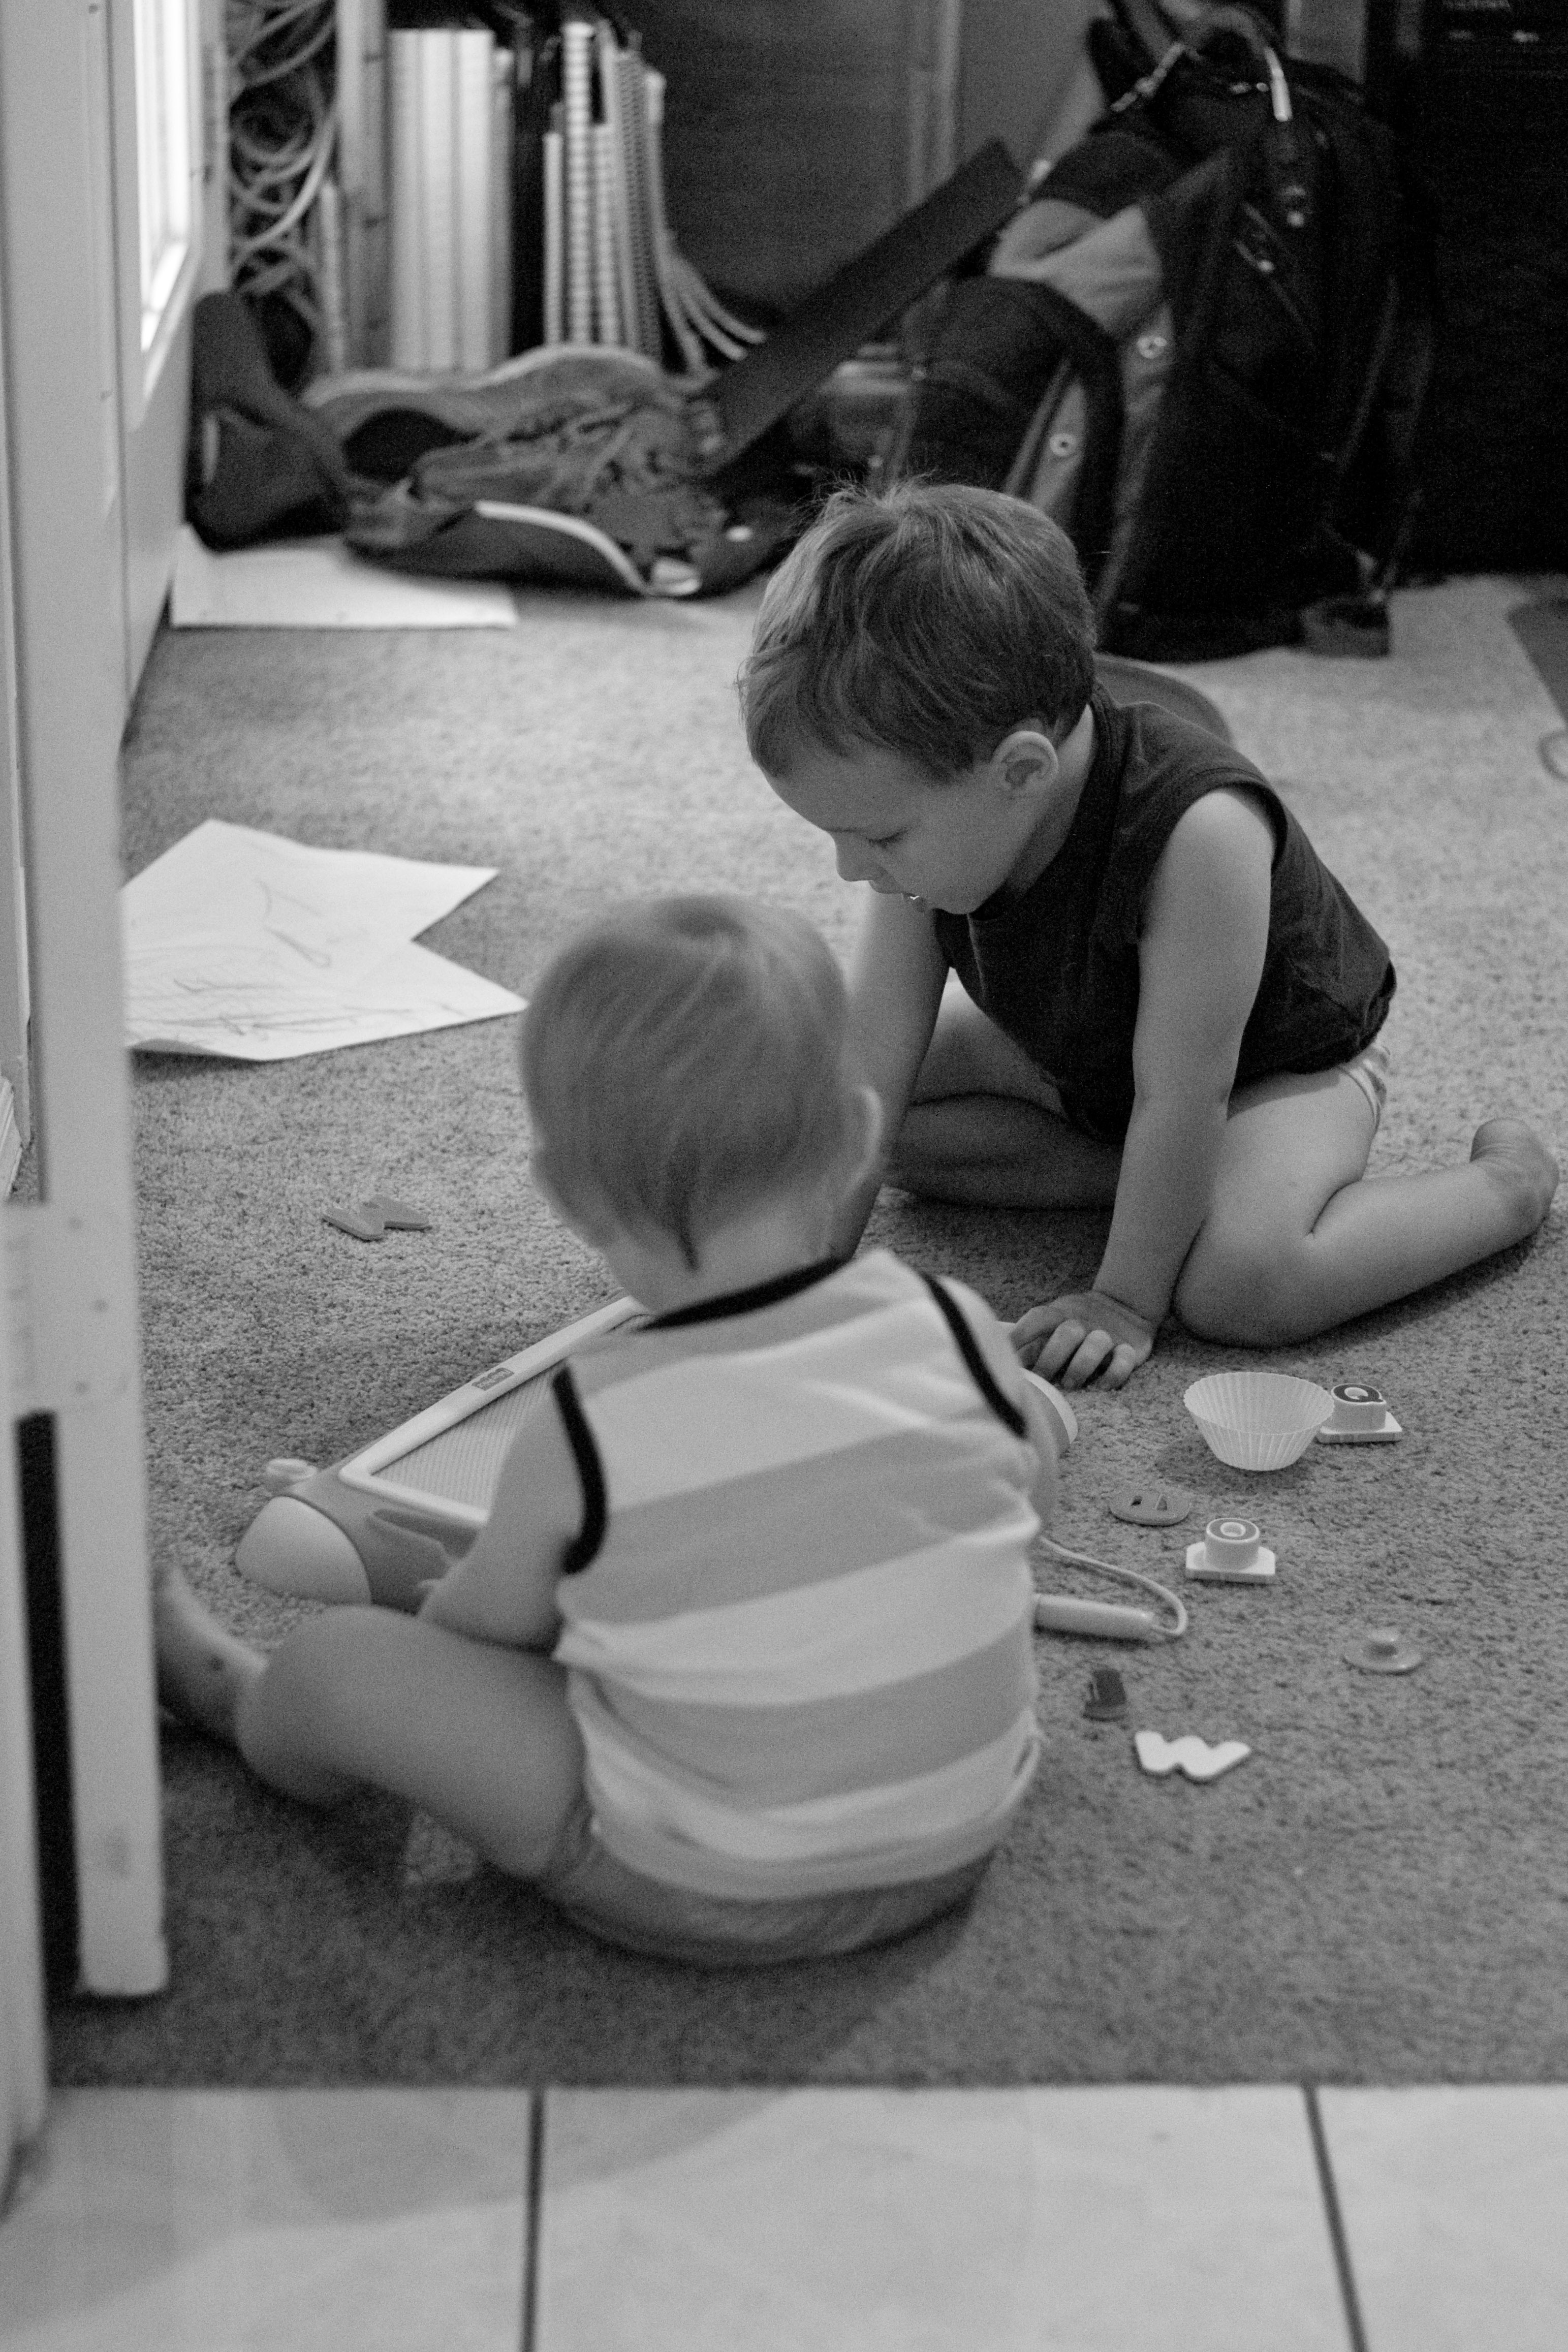
One of my challenges this Easter was explaining the story of Jesus’s death to my toddlers. Death isn’t really a concept that they understand, and violent, painful death isn’t exactly something I want to describe to them in detail. I’d like them to retain their innocence until life demands otherwise!

We read some of the stories from the Jesus Storybook Bible, but they were honestly still a few years beyond Rondel, and I could tell that though he was listening, the words weren’t making much sense to him. So I ended up making it pretty short and simple, just saying that Jesus was hurt and died on a cross so that He could rescue us and make us able to know and love God.

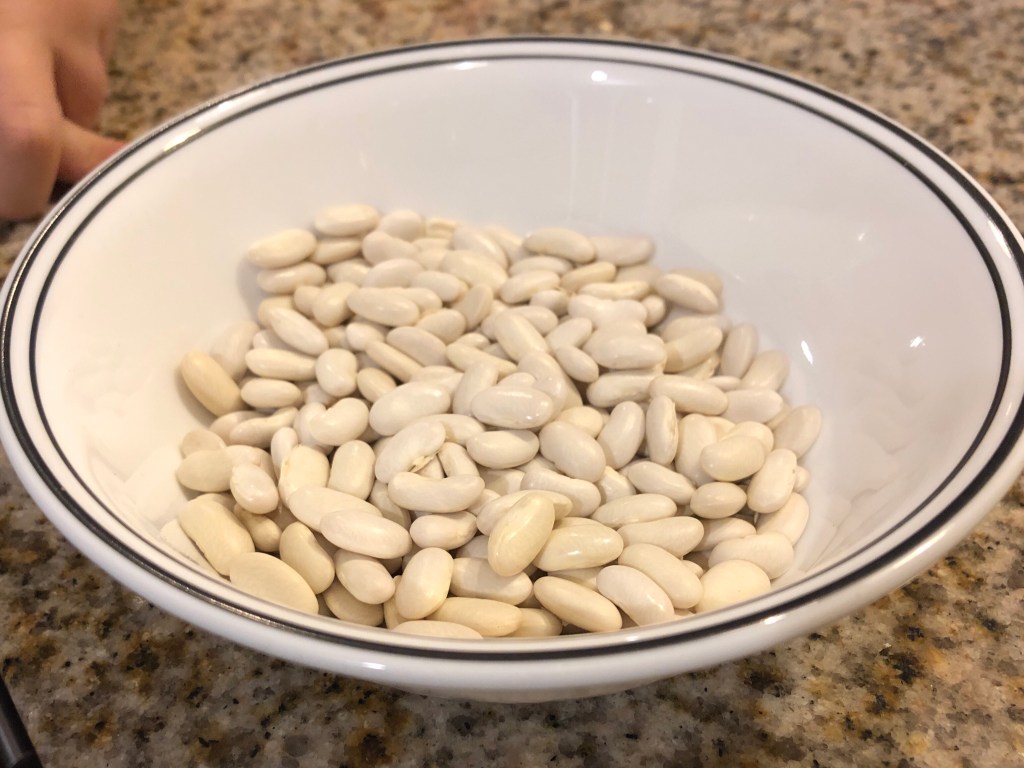
And my best teaching tool ended up being these:

Throughout the day-long process of mixing, rising, shaping, baking, and glazing the hot cross buns, Rondel would keep asking me, in his toddler vernacular, what we would be drawing on top of the buns (answer: a cross) and what Jesus did for us on the cross (answer: see above). It gave him an interest in the story and something tangible to latch on to in the midst of a lot of things he didn’t quite understand.

So maybe that is part of the reason why these buns, which have always felt distinctly non-fasting to me, are a traditional Good Friday food – they help to teach the story to the youngest of us, and remind the rest of us of the truths we either lose sight of or over-complicate.

Bread making is something I do as much by feel as by measurements, but here’s the basic recipe I use for these buns, adapted from America’s Bread Book by Mary Gubser, if you want to make them next year. They are consistently one of my favorite sweet yeast breads.

First, you’ll need to make a sponge. This lets your yeast get active and happy, and if you’re using some whole wheat flour (as I normally do – I was totally out this year though), it gives the flour additional time to absorb the liquid and soften into the dough, allowing the gluten to develop while blunting some of the wheat’s sharp edges that can damage the gluten strands. It also means that your dough will rise a bit faster later on, since the yeast will already have had a chance to feed and multiply.

For a single batch, about 32-36 comfortably large buns, I start with 2 cups warm milk, 1/4 cup melted butter, 2 tablespoons of yeast, 1/2 cup brown sugar, and 2 cups whole wheat flour. (My general rule of thumb for a sponge is equal volumes of liquid and flour. If you’re doubling the recipe, you shouldn’t need to double the yeast as well, although I would still increase it to 3 tablespoons.) This gets all stirred up and then gets to sit, loosely covered, in a warmish, non-drafty place for about 30-60 minutes. Really, 30 minutes is as much as you need, but it can go quite a bit longer if you get distracted with your kids while it’s sponging 🙂

To the lovely, bubbly, slightly risen sponge (releasing that most wonderful yeasty scent into the air), you’ll need to add an egg and 1 1/2 teaspoons of salt. Both of these things can inhibit the development of the yeast, so I like to let the yeast get a good headstart with the sponge before adding them!

At this point you have a good basic sweet bread starter that you could take in a variety of directions. For hot cross buns, I add a heaping teaspoon of cinnamon and about 3/4 teaspoons each of cloves and nutmeg. My additions to the buns vary slightly from year to year depending on what I have on hand, but basically you’ll need something citrusy and some sort of dried fruit. You could use 1/2-3/4 cup diced candied lemon or orange rind or the zest and juice of two oranges for the citrus, and 3/4-1 cup currants, raisins, or golden raisins (or a mix) for the dried fruit, and I’m pretty sure any combination of the above would be excellent. I do like the added texture of the larger golden raisins vs. the currants, and of the candied rind vs. the zest and juice, but if you want a smoother roll without those extra juicy bites, both zest and currants will melt into the batter and give you flavor without changing the texture. This year I used half currants and half golden raisins, and the zest and juice option for my citrus – it was what I had, and it was good.

Once the spices and fruits are added in, you’ll want to add white (unbleached, of course) flour to the dough, slowly, until the dough is workable but still soft and definitely not dry. You don’t want it as wet as a baguette dough, for example, because you’ll need to shape it into little rolls and it’ll have to hold that shape, but you don’t want it so dry that the end result is also dry and dense. This is the part of bread making that is hard to precisely describe without showing you in person! And to give you an idea of how variable it can be, the recipe I’ve adapted calls for about 2 cups more flour than I’m ever able to add to my dough – I live in a really dry climate, and it affects my yeast bread significantly, since most recipes have been tested and created in more humid places.

Anyway, when you’ve gotten the dough to your liking, you’ll want to knead it until it starts to look smooth and elastic, and stretches when you pull on it instead of breaking away in chunks. I have a mixer with a dough hook that I let do the kneading for me, typically, because it gives me more consistent results in less time, but there is something very satisfying and cathartic about doing it by hand from time to time, so don’t let the absence of a mixer stop you! This kneaded dough will then need to rise in a large bowl, coated with either melted butter or oil to keep the dough from sticking. Just like for the sponge, this bowl will need to be covered loosely and allowed to rest somewhere cozy until it has about doubled in size, which will probably be about an hour but will depend a lot on the health and happiness of your yeast.

Finally, at this point, you get to shape your little buns! I like a roll about the size of a typical dinner roll or average muffin, a piece of dough that comfortably fits in the palm of my hand and is easy to shape; this gets me about 32-36 rolls. Mary Gubser recommends making them with pieces of dough about the size of a walnut, resulting in 84 or so tiny little two-bite rolls, but I honestly quiver at the though of drawing crosses over that many tiny buns. Also, I never really want fewer than one hot cross bun anyway, so I’d end up eating 3 or 4 little ones at once…

These newly shaped rolls should sit on parchment paper or a buttered baking sheet, under a light towel, for about 45 minutes to let them rise one more time before baking, during which time you can preheat the oven to 375 F. The rolls will only take about 12-15 minutes to bake, even at the larger size, and should be golden on both top and bottom, light to the touch but not too squishy.

To cross them, after they’ve cooled, make a basic glaze with lemon juice and powdered sugar to get to a spreadable consistency, pipe with a pastry bag/ziploc bag with the corner cut off, and let sit to harden. I usually only cross part of the batch because they’re easier to store unglazed, and I can glaze the rest of the buns the next day if I need to or just eat them unadorned, which is still very tasty if not quite as edifying and delicious.

Enjoy!